
A Homeowner's Guide: Navigating a Roofing Insurance Claim After a Murfreesboro Hailstorm
That unmistakable sound of hail hitting your roof can make any homeowner's heart sink. Here in Tennessee, we're no strangers to sudden, intense weather. Once the storm passes, the silence is often replaced by a wave of questions and worries: Is my roof damaged? How bad is it? And the biggest one of all—how do I even begin to deal with an insurance claim? The process can feel overwhelming, but it doesn't have to be. As your local Murfreesboro roofing experts, we've helped countless homeowners navigate this exact situation. This guide will walk you through the essential steps, from initial assessment to filing your claim, ensuring you have the knowledge to protect your home and restore your peace of mind.
Step 1: Safety First, Then Document Everything
Immediately after a hailstorm, your first priority is safety. Stay indoors until the storm has completely passed. Once it's safe, your next step is to document potential damage, but do so from the ground. Never climb onto a potentially damaged or wet roof.
Grab your smartphone and walk around your property. Take clear photos and videos of:
- Gutters and Downspouts: Look for dents, dings, or blockages caused by hail.
- Siding and Windows: Check for cracks, chips, or holes in your siding, window screens, and trim.
- Outdoor Fixtures: Inspect air conditioning units, deck staining, and patio furniture for signs of impact.
- Shingles on the Ground: Note if you see any shingles or pieces of shingles in your yard.
While you may not be able to see the roof itself clearly, documenting damage to these other areas provides strong evidence that your home was in the path of significant hail. Make notes of the date and time the storm occurred. This initial documentation is crucial when you first contact your insurance provider.
Step 2: Get a Professional Roof Inspection
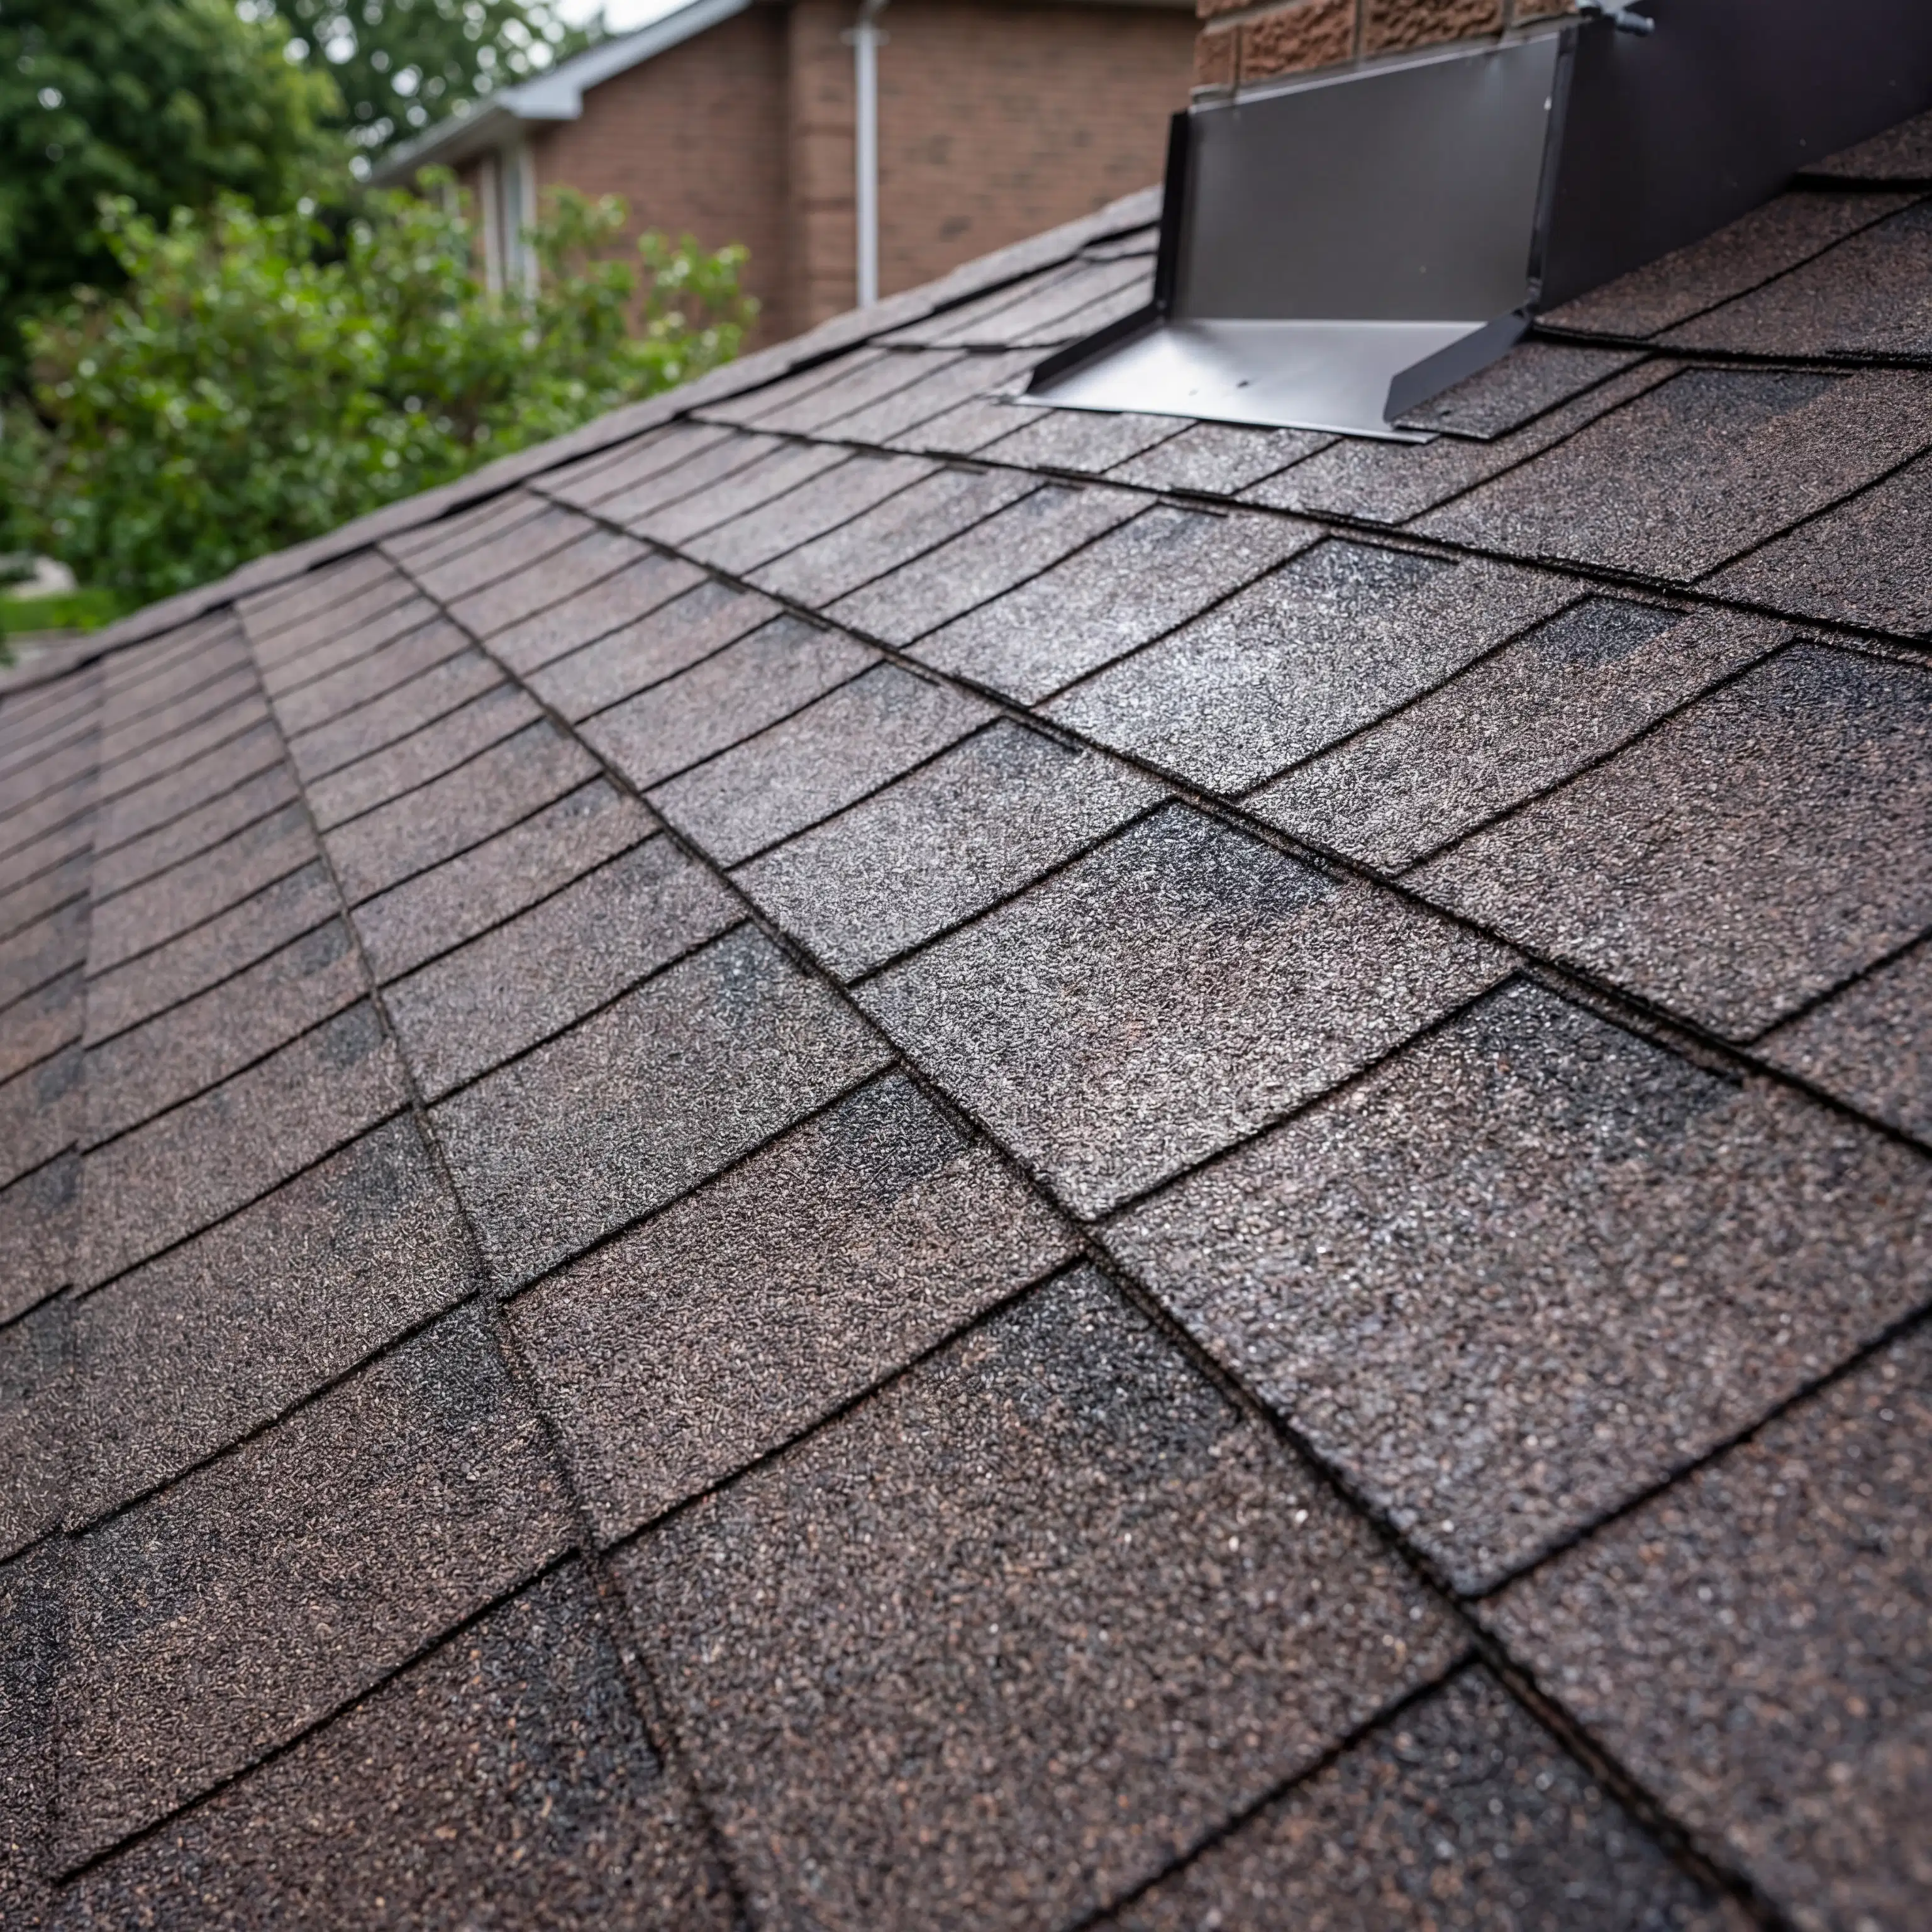
Hail damage on a roof can be subtle and often invisible from the ground. What might look like a few minor scuffs can actually be significant bruising that has compromised the integrity of your shingles, leading to leaks down the road. This is why a professional roof inspection is the most critical step in the process.
A qualified, local roofing contractor has the training and equipment to safely assess your entire roofing system. We use advanced techniques, sometimes including drones, to get a comprehensive view of every slope and surface. A professional will identify:
- Bruising and Dents: Hail impacts can create soft spots or bruises on asphalt shingles that may not be obvious to an untrained eye.
- Granule Loss: The protective granules on your shingles can be knocked loose, exposing the underlying asphalt to UV degradation.
- Cracked or Chipped Shingles: Larger hailstones can cause visible cracks, creating immediate entry points for water.
- Damage to Flashing and Vents: We inspect all components of your roof, including the metal flashing around chimneys and vents, which can also be damaged.
Receiving a detailed inspection report from a trusted roofer provides you with the expert documentation needed to confidently file your claim.
Step 3: Filing Your Claim and Meeting the Adjuster
With your personal documentation and professional inspection report in hand, it's time to contact your insurance company to initiate a claim. Be prepared to provide your policy number and a general description of the damage. They will assign a claims adjuster to visit your property and assess the loss.
This is another area where partnering with a professional roofer is invaluable. We highly recommend having your contractor present during the adjuster's inspection. Here’s why:
- Advocacy: We can point out damage the adjuster might overlook, ensuring a complete and accurate assessment.
- Terminology: We speak the same language as the adjuster, discussing specific types of damage and industry-standard repair methods.
- Efficiency: Having both experts on-site at the same time can streamline the process and prevent disagreements later on.
Our goal is to ensure that the scope of work approved by your insurance company fully covers all necessary storm damage repairs to bring your roof back to its pre-storm condition, using quality materials and proper installation techniques.

Step 4: Understanding Your Settlement and Choosing Your Contractor
After the adjuster's visit, you will receive a settlement summary. This document outlines the scope of approved repairs and the estimated cost. It can be confusing, often including terms like depreciation and deductible. Take the time to review it with your roofing contractor to ensure it aligns with their inspection findings.
Once you understand the settlement, you can choose a contractor to perform the work. Be wary of “storm chasers”—out-of-town companies that sweep into an area after a storm, perform quick, often subpar work, and then disappear. Always choose a local, licensed, and insured company with a proven track record in the community.
A reputable contractor will work from the insurance scope, ensuring all the approved work is completed to the highest standard, whether it's a targeted repair or a full roof replacement. They should provide a clear contract and warranty for both materials and labor, giving you confidence in your investment.
Don't Navigate Storm Damage Alone
Dealing with hail damage and insurance claims is a stressful part of homeownership, but you don't have to go through it by yourself. By following these steps—documenting the damage, getting a professional inspection, and partnering with a trusted local roofer—you can navigate the process smoothly and confidently.
If your home has been affected by a recent storm in the Murfreesboro area, the team at Square One Gutters & Roofing is here to help. We provide thorough, honest inspections and can guide you through every step of the insurance claims process. Contact us today for a free inspection and let us help you get your home back to square one.